KickTheMap Vision – Project Visualisation
Required: You must own a HaX RTK 2.0 (serial number starting with K) and an iOS smartphone/tablet connected to the internet. The accuracy of KickTheMap Vision is even better with a LiDAR compatible smartphone, mainly iPhone Pros (since iPhone Pro 12).
Important note: A 4G/5G internet connection is still required to use your HaX RTK GNSS receiver.
This article follows the previous article about projects creation on our my.kickthemap.com platform. You must go through the first step to visualise your project.
Selection and Connection phase:
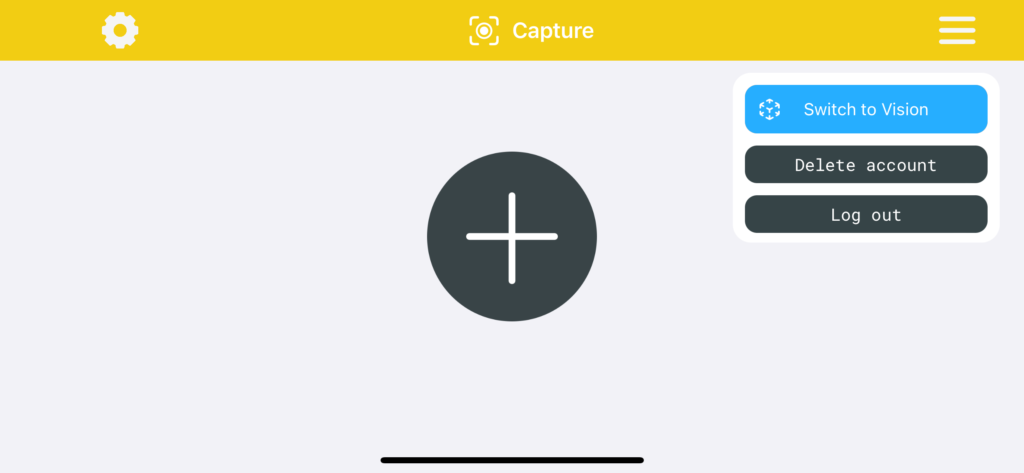
On your app, access the KickTheMap vision page from the top right-hand corner menu.
On your main project page, you will see all the projects that were previously created on your platform. If not, please refresh your page. The projects are sorted from the closest to the furthest from your position.
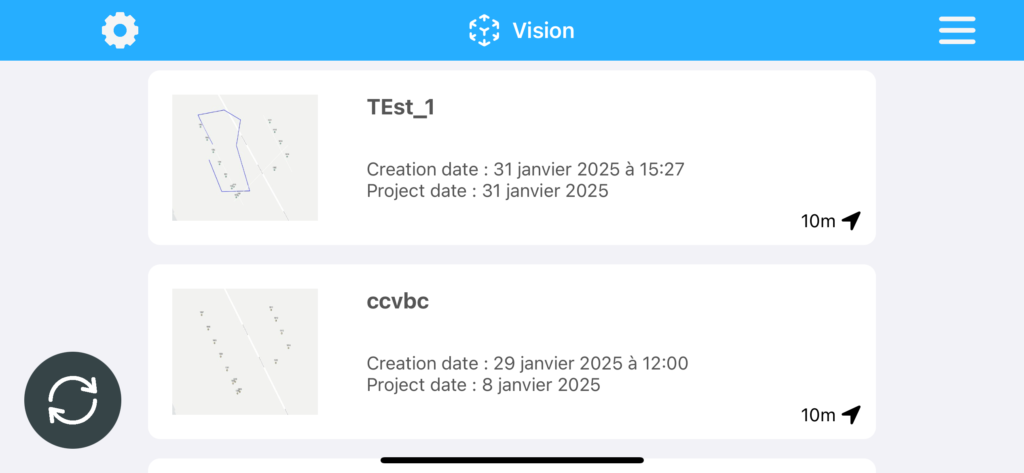
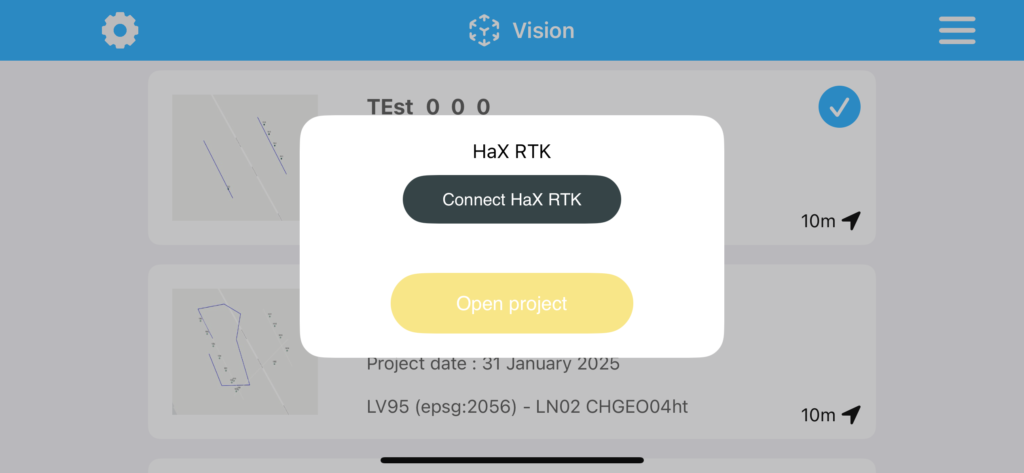
Select the project you want to display.
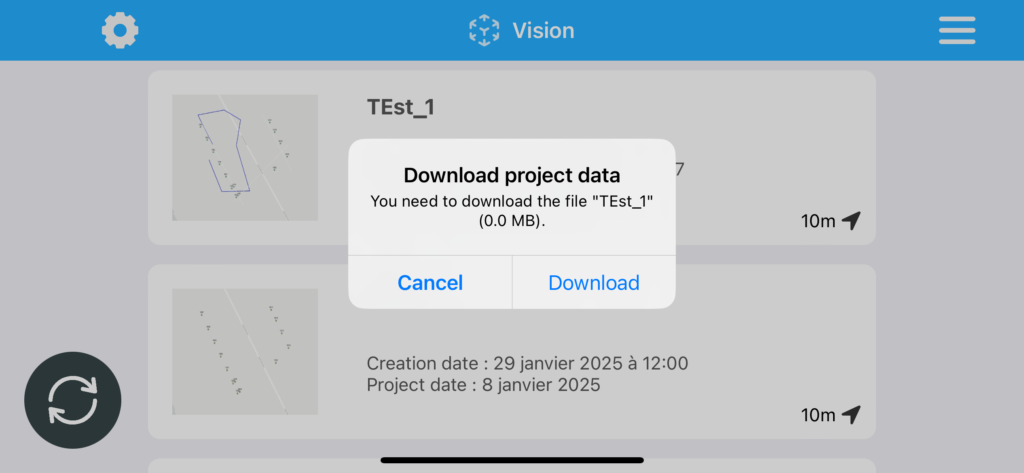
Upon first selection, the download of data on your mobile device is required. A blue tick appears whenever your project has been downloaded.
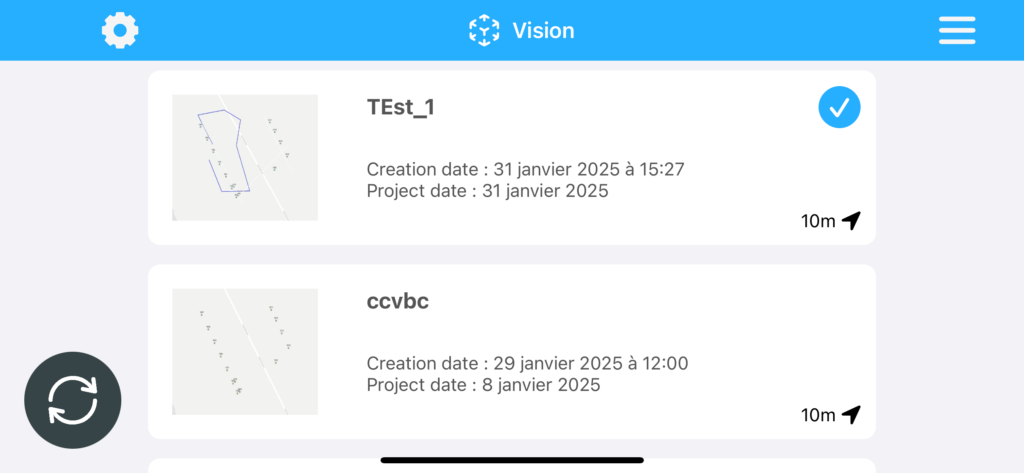
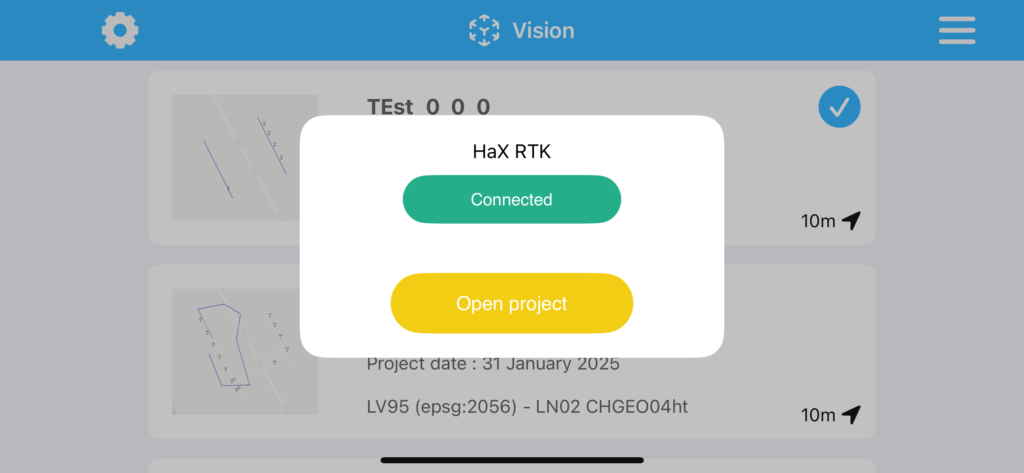
Then connect the HaX RTK device to your smartphone (like in KickTheMap Capture) and press “Open project”.
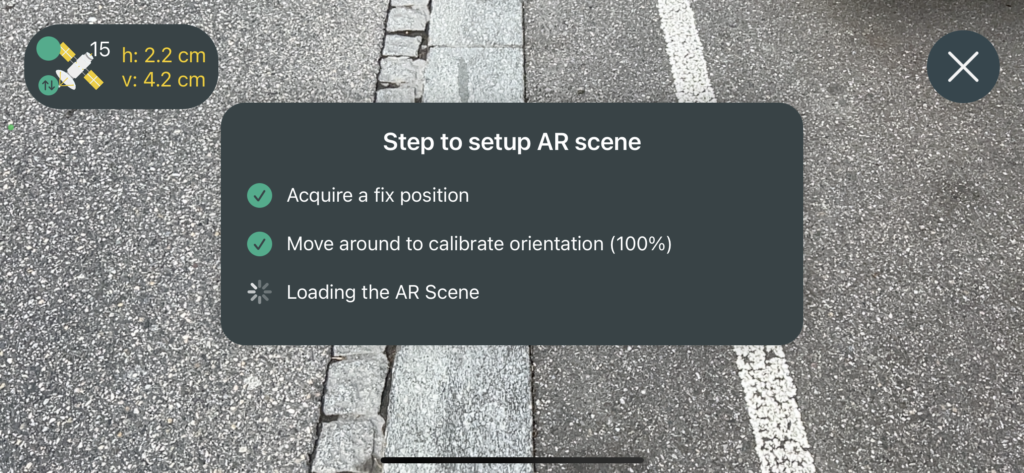
Initialisation phase:
1- Getting RTK fixed (green dots). Move around to get the best satellites’ coverage
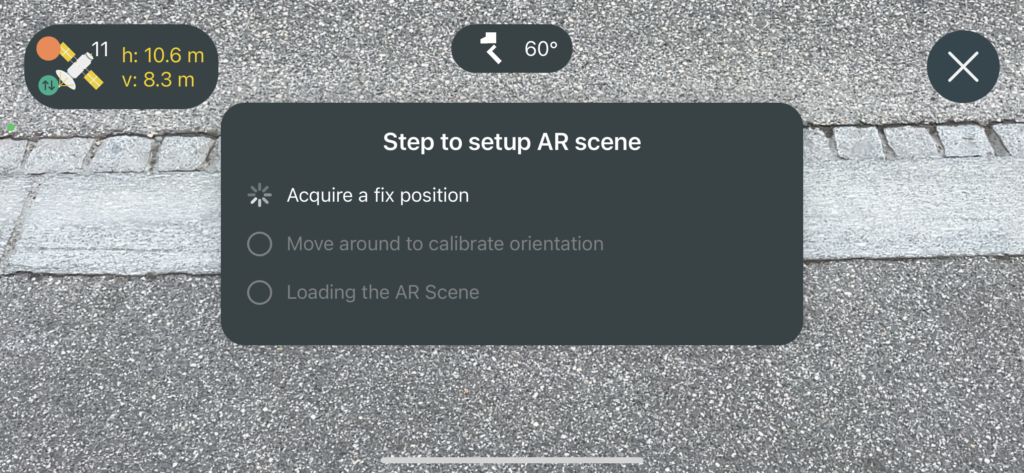
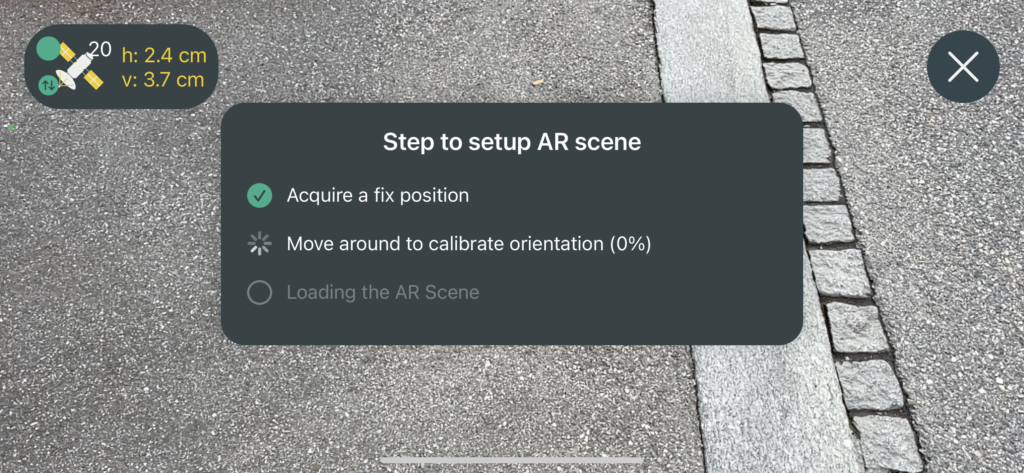
2- Calibration of devices: Move around to calibrate both the GNSS signals and the orientations of both devices together. A good GNSS position is required at this stage. Do not change the tilt of the Antenna at this stage.


3 – Scene data loading
AR/Map Visualisation:
Interface:
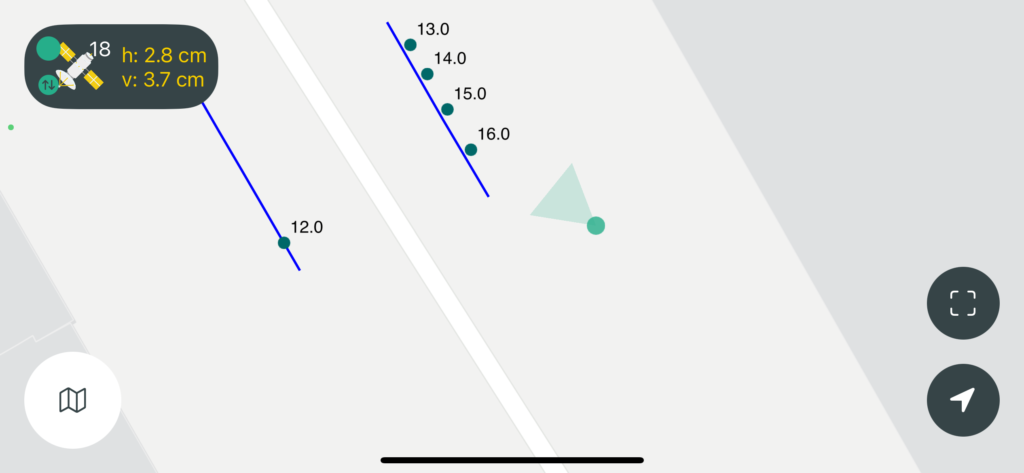
The data can be visualised on both screens, the augmented reality screen (by default) and the map screen. Switch screen with the map button.
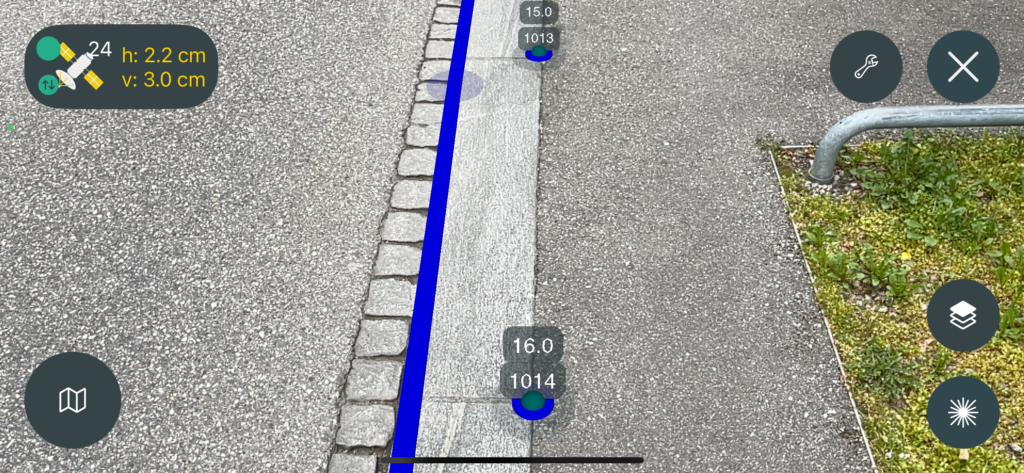
All functions are available on the screen: Map screen (bottom left), Alti-Laser (bottom right), Layers (bottom right), Configuration (top right).
At any time, it is possible to get the info about an object on both the map and the AR screen by pressing on this object.
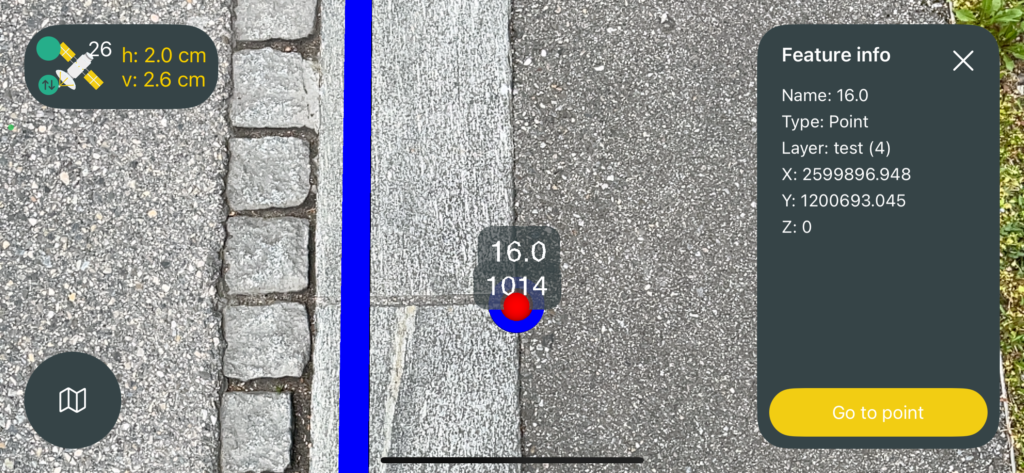
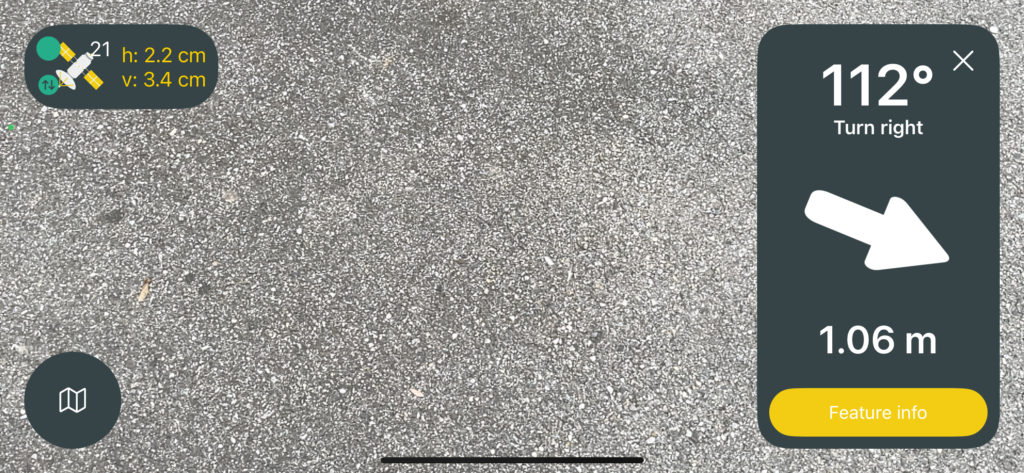
Stake-out:
It is also possible to stake-out a point or a line on both map and AR screens.
To do so, select your object on the map view (or the AR View) and press “Go to Point” or “Go to Polyline”. A new tab appears on the right-hand side of the screen to show you the distance and the direction of the selected objects. It can help you to mark a point or to follow a line (for instance, underground infrastructure).
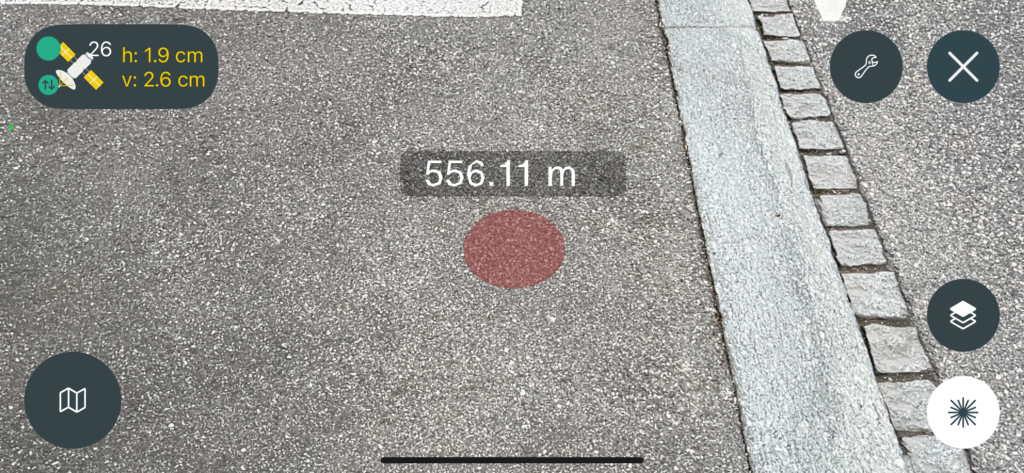
Alti-Laser
The Alti-Laser feature allows you to get the altitude of any given plan in your surrounding. This performs well in a close surrounding of 3-4 meters from the operator.
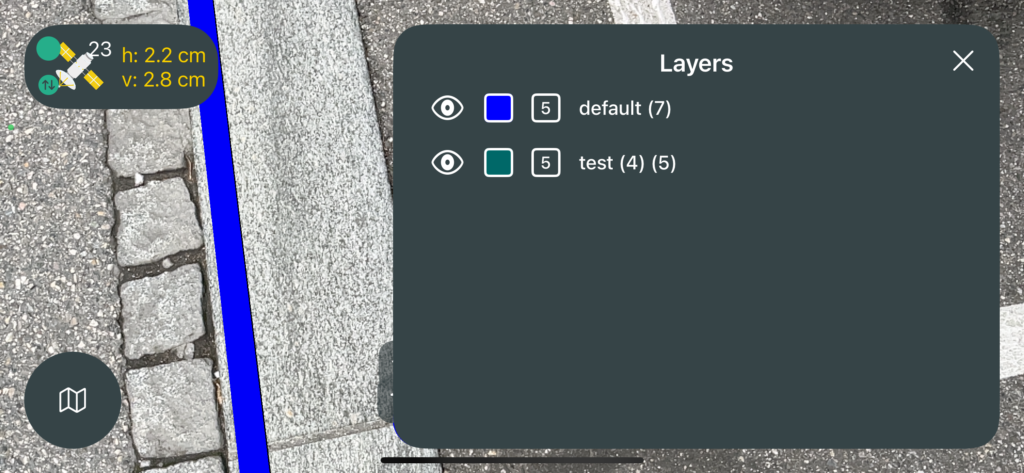
Configuration:
The colour, the visibility and the thickness of layers are customisable on the layers’ tab (Layers button). You can also see the number of objects/layer.
To ensure a smooth experience, you can decide how many objects to display and how far you want to reach. The number of objects can greatly affect your experience.

“Display objects” is the max number of objects that are visible.
“Display distance” relates to the max distance (in metres) for the visibility of of the objects.
“Update Limit”: This is the maximum distance within which objects’ positions can be updated.